
This is a dedicated step by step rooting guide for the Samsung Galaxy Tab 12.2 with model number SM-T900. We’ll using the CF-Root procedure by ChainfireXDA to gain root access, which is one of the best and safe way available for this variant. Let’s move on to get started. It is highly recommended that you first read the guidelines and requirements section before rooting your device.

Guidelines and Requirements:
- Samsung Galaxy Tab Pro 12.2 SM-T900
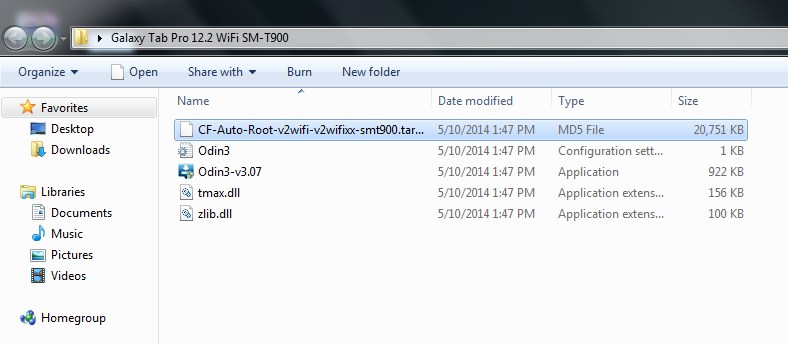
- CF-Root package: CF-Auto-Root-v2wifi-v2wifixx-smt900.zip
- Odin3 tool is required but that is included in the cf-auto-root package.
- Install Samsung Kies or USB drivers on your PC.
- Go to Settings > Developers Options and enable USB debugging.
- Charge your tablet battery to at least 50%.
- Last but not the least, Carefully read and follow the instructions to safely and successfully root your tablet.
How to Root Galaxy Tab Pro 12.2 SM-T900 running on Android 4.4.2 KitKat
Step 1: Download and unzip the CF-Auto-Root files on your desktop:
Step 2: Turn off your tablet and reboot it into Download Mode, press and hold the Volume Down+Home+Power button together until you see a warning on your screen. Further hit theVolume Up button to enter Download Mode.
Step 3: Run the Odin3 v3.07.exe to start the rooting process for Galaxy Tab Pro 12.2 WiFi.
Step 4: Next, connect Galaxy Tab Pro 12.2 to PC via the USB cable, wait for Odin detect your device. The ID: COM port will turn blue with the COM port number and you should also notice the Added!! in the message section.
Step 5: Click the PDA button and select the CF-Auto-Root-v2wifi-v2wifixx-smt900.tar.md5file:
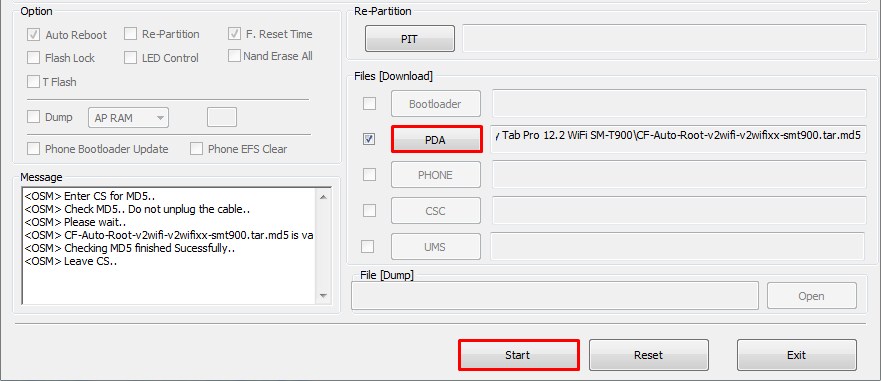
Step 6: Hit the START button to flash the rooted kernel on the Galaxy Tab Pro 12.2.
Step 7: Finally when cf-root is successfully flushed, Odin will give you PASS!! message on Odin3 screen and your phone will automatically reboots. You can now disconnect your phone from PC and wait till your device reboots normally.
Step 8: Check that SuperSU has been installed on your device. You can further verify root access by installing ‘Root Checker‘ from Google Play Store to verify root access.
What if you’re experiencing any errors or issues with SuperSU after rooting. Follow the instructions to solve the issue:
- Download and install the latest version of SuperSU from Google Play Store.
- Open SuperSU app (update the binary if prompted) and allow it to disable KNOX.
- Reboot your device.
- That’s it!! It should be working fine.
Finally do not forget to leave feedback once you rooted your tablet, feel free to ask any queries you may have or if you do need further assistance and support, we’ll try our best to help you out. For more like this rooting tutorials, keep visiting.
No comments:
Post a Comment